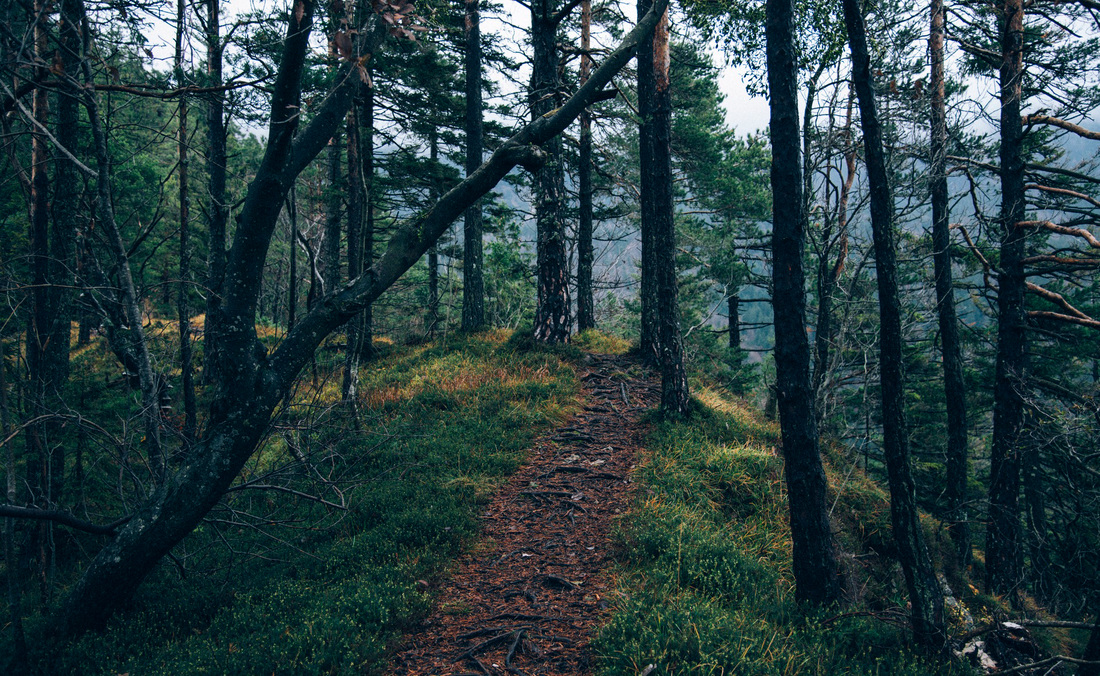
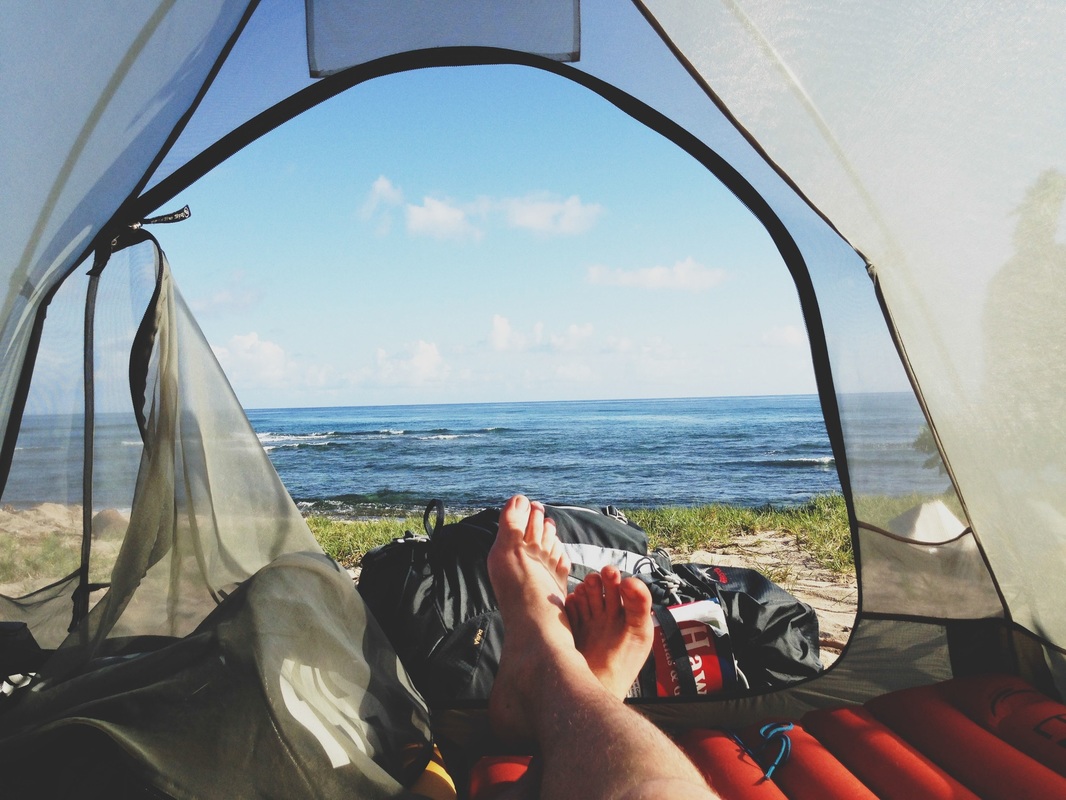
I'm James. This is my year of travel.

|
The similarities to MS Paint might also catch your attention, but the number of features and tools at your disposal is vastly superior to its Microsoft counterpart. Once you've logged in, you'll be presented with an interface that might look outdated at first glance, but is surprisingly atypical when compared to other painting and editing tools. Once you've downloaded and installed the software, you'll need to create an account to start using it. Installation is a breezeįurthermore, the installation process is quick and straightforward, requiring only a few simple steps to get started. The layout is straightforward and easy to navigate, with all the essential tools located at the top of the interface. Unlike other complex software that requires a steep learning curve, PaintTool SAI is designed with simplicity in mind. With features like layer masks, blending modes, and color correction, you can take your images to the next level and create truly stunning visuals.īut what sets PaintTool SAI apart from other image editing software is its intuitive interface and ease of use. Whether you're looking to tweak the colors, adjust the brightness and contrast, or add special effects, PaintTool SAI has got you covered. A number of familiar, useful editing tools This comprehensive editing software provides an impressive array of tools and options that allow you to transform your images in almost any way you can imagine. When it comes to enhancing the quality of your images, PaintTool SAI is the ultimate tool for the job. and if the brush needs a certain brush set (like the BMP we installed) you’ll find that setting name under where it says “(simple circle)”.A fun drawing application which supports layers and digitizers. you can also double click the brush to change its name. all you have to do is adjust the settings to the brush you are wanting to use. like maybe it’s size is 30, min size is 0, perhaps blend is set to 20, dilution to 50, etc etc. 
this is where you will then make the changes you may see on the brush you want to install. but for example lets say your new brush is in fact a ‘brush’.Īnd you’ll see that after you create the new brush that it is automatically set to the ‘brush’ default settings. you can usually tell what kind of brush it is based on those little brush symbols under the names and what options it gives you when you make a new brush. Right-click on a blank square in your brush window and select what type pf new brush that you would like to make. Now, if your brush doesn’t have a new BMP that you need to add, then we can move on into the modification point. be sure to save this after you are finished!! i literally just copied and pasted and then wrote in the brush BMP name. but basically to add the new BMP you’ll have to write it in much like i have will all these extra brushes. 
nf (right click and make sure to open it with notepad) and you’ll see a list of brushes that are currently installed into your SAI. it’s usually in BMP format and you can just drag and drop it in. elemap is where you will place any specilised brush shapes that may be needed for your installed brush. Its a little complicated but installing brushes into SAI can be easy when you understand how the brushes in SAI work with the SAI folder.
0 Comments
Leave a Reply. |
AuthorWrite something about yourself. No need to be fancy, just an overview. ArchivesCategories |
 RSS Feed
